Sunday, February 13, 2011

Inspirational words of the day

"Men were not intended to work with the accuracy of tools, to be precise and perfect in all of their actions. If you will have that precision out of them you must unhumanise them.

If you will make a man out of the working creature you cannot make a tool. Let him but begin to imagine, to think, to try to do anything worth doing, and... out come all his roughness, all his incapacity... failure after failure... but out comes the whole majesty of him also."

-John Ruskin

3000!

Topped 3000 page views today.

Thanks to all of you for reading. It's humbling and exciting to think that people are interested.

It's late, I'm tired and more, but I wanted to say thanks.

Friday, February 11, 2011

Shop tips

A better glue bottle

This was originally the product of my frustration with store-bought glue bottles. I had one that was getting clogged, and I squeezed a little too hard during a glue up. The top came off, glue went everywhere, all over the project, and my temper went through the roof.

Soda bottles are rated for pressure, so I knew it wouldn't blow out on me. (If you don't believe me, put a cap on an empty one and stand on it.) And it brings its own benefits. Drilling the cap on one side gives more control over the glue stream, because a little rotation of the bottle one way or the other will re-align the stream. It doesn't have a long, pointy nozzle to get clogged up. And depending on how big a hole you drill, the bottle can dispense small, controllable beads, or deliver massive quantities in a hurry... whatever's called for. And if you decide later that you want a smaller hole... well, shucks. Where will you ever find a new cap? Oh, right. EVERYWHERE.

I don't know how the chemistry works, but titebond I doesn't seem to bond with the plastic at all. It'll build up on the cap around the hole, but it pops right off when I pick at it. And it doesn't stick to the inside of the bottle at all. I've been using this bottle for a few years now.

And the price is right. A five cent bottle deposit is much cheaper than the $2-3 you'd pay for a dedicated glue bottle at the hardware store.

-------
Production crosscutting stop

I tried to work this into the first entry on the crosscut sled, but it just didn't fit. This is a crosscut stop design that I discovered when I had a shop in Medford. It made sense immediately when I saw it. There's about an inch of wood hooked onto the hinge. Flip it out of the way to crosscut something to rough length, and then flip the block back around when you crosscut the other end to finish length. It's a great production tool.

Thursday, February 10, 2011

Evolving a better crosscut sled: followup review

So, in the past few days I've been able to take the sled through it's paces. I'm really impressed. Having zero-clearance inserts built into the floor makes a HUGE difference. Having them made out of something as cheap as masonite is a bonus, because I can already tell that I'm probably going to go through two or three of them on so many projects. But combining the clean cuts that those inserts give me with the reliable precision of the Kreg stops gives a whole that is greater than the sum of its parts. I'm mad as hell that I didn't think of this before.

The ability to cleanly cut rabbets and dados is huge. The veneer on the plywood I'm using on my current project has already shown a tendency to blow out horribly when crosscutting. A fresh insert fixed that problem. And using the Kreg stops made rabbeting out side panels for bookcases a snap: once the dado stack is properly set up, run it through the insert. Nudge the panel up to the edge of the insert, and set the stop at the other end of the panel. Next, slide the panel over the gap in the insert, and stick a piece of plywood cutoff as a spacer between the panel and stop. This sets the panel to the right position for a rabbet that's exactly the thickness of the plywood. Re-set the stop, and run rabbets. SO easy.That's the first and most obvious method that I've figured out so far... more will come, I'm sure.

I've already had a few ideas on what I would do differently on the next version; it's just the kind of guy I am. How would I build another sled more simply and easily? What functions did I not consider when I did this one? I"m already kicking myself over the replaceable insert: It's a brilliant idea that I could have done better. If I run the blade at a 45 degree angle, I'm pretty sure I'm going to run it through the screws that are holding the insert in place. I hadn't really thought about using a beveled blade with a sled before. In school, the sled was just a tool for running 90 degree crosscuts. Nothing with a dado stack, nothing with a tilted blade. And the Kreg fence has really changed everything. Having used this sled a few times, it's very clear to me just how much more is possible.

Or will be, when I make a newer, modified-again sled.

Sigh.

Tuesday, February 8, 2011

Evolving a better crosscut sled

Over the past 4 years I've gone through a few versions of cross-cut sleds.

The kind we used at school was very plain, and while it worked, it was not what I would call optimal. It was basically like this one that I made for my contractor saw a few years ago. Big fences, mounted as square as possible to a huge piece of MDF. Setting up repetitive cuts meant clamping a huge L-stick to the fence, which was a huge pain in the ass. Clamping it up meant using one hand to hold up the stick in place, one hand to operate the clamp, and another hand to hold the tape measure, to make sure the stick was being clamped up in the right place. 

My first attempt at a miter bar was intended to solve most of the problem. The L-stick would have a wooden bar mounted to it that would hold the stick up in a horizontal position, and a knob would thread onto a bolt through said stick, and the bolt would engage with a T-track to clamp the thing down. In short, I could use the knob to set the position AND clamp the setting in place, while I measured with the tape measure using my other hand. Voila... I no longer need to use three hands.

This is the most recent version, and it's the first one I'm really proud of. The Kreg rails add several important advantages: Kreg's production stop is AWESOME, the adhesive scale that sticks to the rail means I don't need a tape measure anymore, all that metal adds mass, which helps the sled slide very well, but most importantly, because they bolt onto the fence, I can loosen the bolts and shim the fences to be perfectly square if I need to.

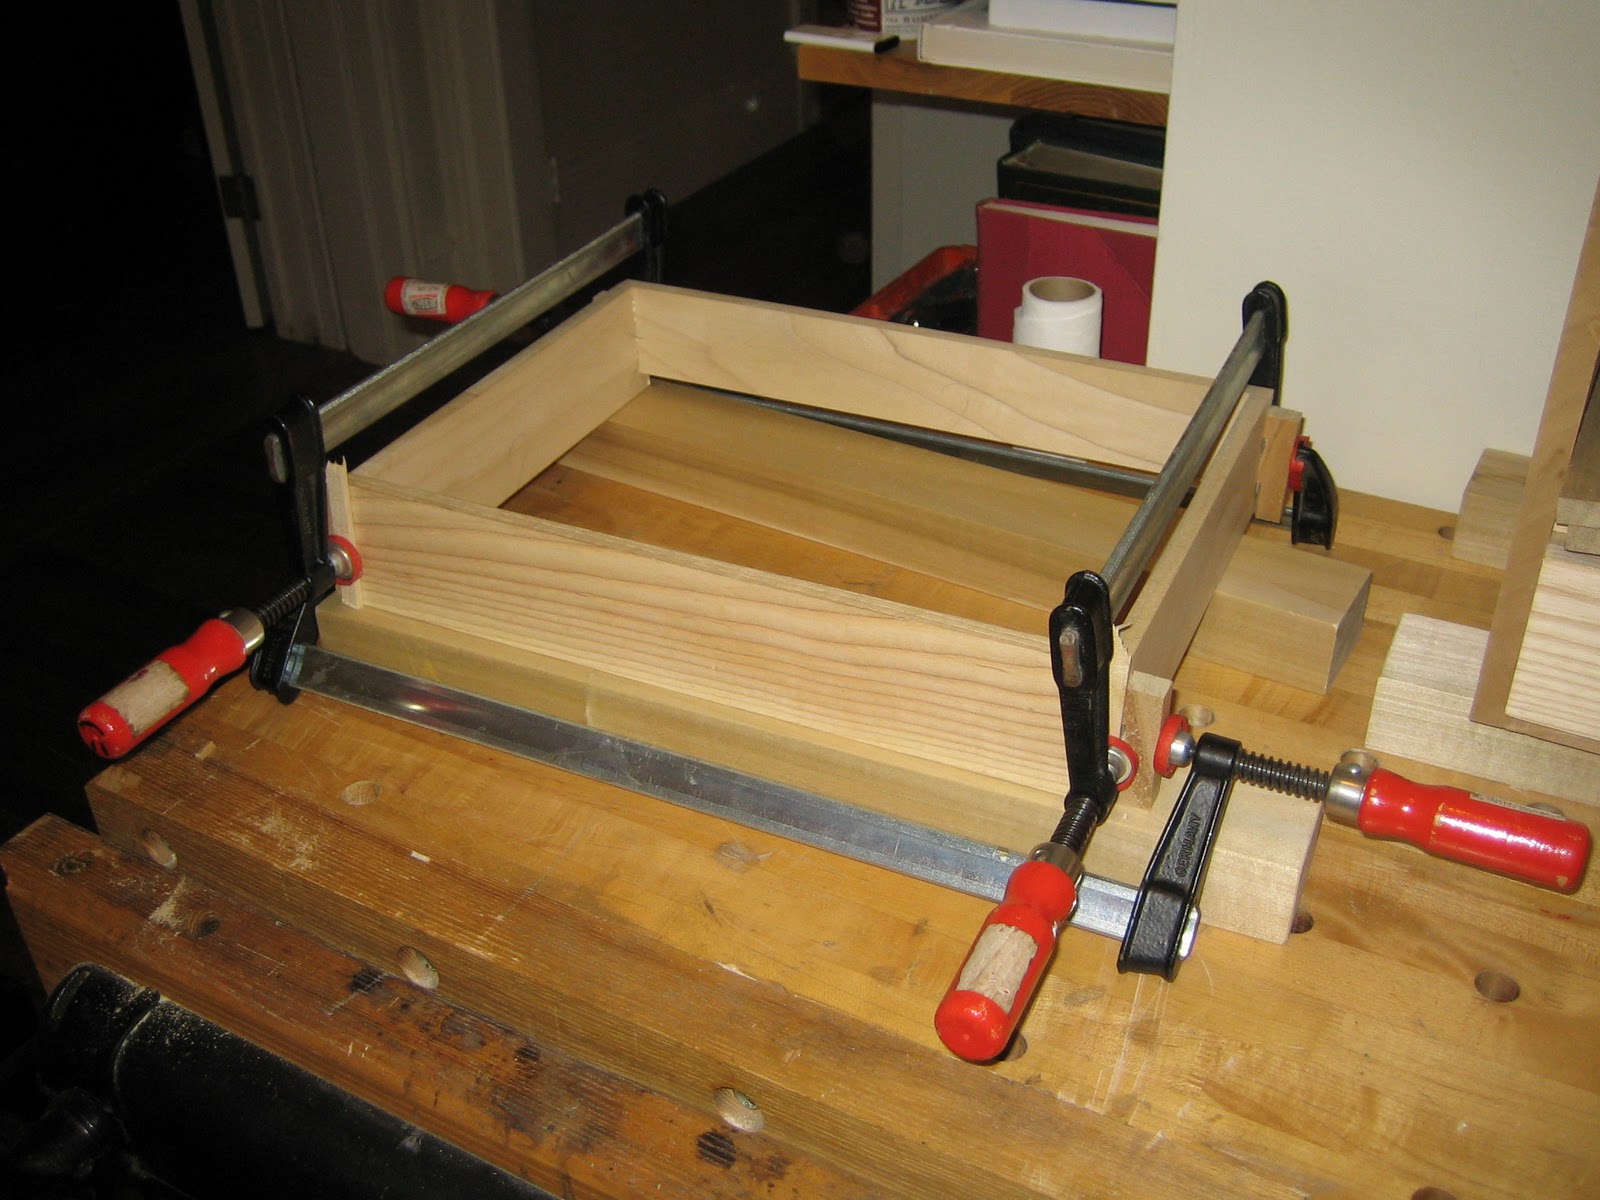
I made the floor of the sled out of 1/2" ply, ran dadoes for the rails, as well as for the fence, to make sure everything was positively square. Each side was made separately, and then joined when I mounted the fence, and the bridge in the back. I finished the whole thing with sanding sealer, so that the plywood wouldn't distort when I waxed the underside of the sled.  (Wax works wonders... the whole thing slides like it's on marbles that are rolling in a puddle of WD-40.)

I wanted to use a replaceable zero-clearance insert, and the easiest way I could think of to lay one in and have it sit flush with the rest of the floor was to lay one whole layer of the same material. So, I made the insert,  installed it, and then used contact cement to lay down the adjacent panels. With the replaceable insert, I should be able to use the sled for dados, and mitered cuts, too.

Sunday, February 6, 2011

Cutting drawers


I cut dovetails and glued up another drawer today. I still feel like I'm a little bit out of practice. But I also feel like it's coming back really quickly... more a question of dusting off existing skills than starting from scratch.

When I picked up the twin screw vise, I had dovetails on the brain. And it's great for that. But today, I had to rip a few boards to finish width, because I cut them oversize at the shop. And I'm liking the fact that the side of the vise holds just as firmly (or more so) as the span between the screws. It's a great setup for holding short-ish boards for ripping. The tall jaws cut down noise while ripping, too. The vise holds the wood firmly enough that the board can't start resonating... at least, not within the 6" height of the jaws. I won't say it's a silent process, because it's not, but I've been aware for a long time that quiet cuts are typically cleaner cuts, because of the lack of vibration. And it helps keep my wife happy, which helps keep me working at home on weekends.

I'm going to use drawer slips to hold in the bottoms, since I've never used that method before, and I think it has a few advantages over running grooves in the drawer sides... especially when it comes to working at home. If something goes wrong with a joint, ripping another board to make a new drawer side doesn't turn into a big deal... without the grooves, there's nothing 'special' about any particular board. I may decide later on that I don't like drawer slips, in which case I'll look into getting a plow plane. But that's money I'd rather not spend... especially since drawer slips are a great use for scrap wood that's sitting around the shop. Lastly, this method will make it easier to lay out joinery, since I don't have to worry about where the groove is coming through the end of the drawer front. 

I got to put my holdfasts to work again today, holding down the parts while I trimmed out waste. Hammering one of those things in is a joy... but it did bring commentary from the next room, since it was loud enough to be heard over Ariel's headphones.

Tuesday, February 1, 2011

Snowpocalypse

This winter is a hassle. Living 35 minutes away from my shop has some real downfalls, like today. And, likely, tomorrow. Not having a heated shop doesn't help, either. On sunny days, it's nice and toasty in there. But on days like today, the prospect of driving through this much snow-bound traffic, in order to spend what's left of the day freezing up in the shop, just doesn't make sense. While today's/tomorrow's storm is supposed to be truly epic, it seems like there's been one day a week for the past month where the weather has gotten in the way of it making sense to go to the shop. It's a real drag.