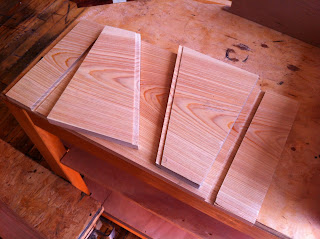
I'm in the middle of building a set of bookcases, which were the reason for building the plane. But, I think it's important to understand a technique before going ahead and using it on a finished piece, so I decided to make a small footstool for my wife to use, while nursing our son.

Once the lumber is milled up, the first step is to cut the female part of the joint. I ran dados on the top of the stool first, and then brought that part to the bench to use a router to shape the dovetail part of the joint. I used a simple clamping router fence to do the job. The first pass was square to the board. The second pass was laid out to be square, and then the fence was offset by 1/16" on the back end, to make a tapered socket.
The next step was to cut the male part of the joint, and fit each to their corresponding socket. The first one went in pretty well.

The next thing I learned was that it's important to lay out what end of the board is what, so that you don't make a stupid mistake when fitting the joint.
I trimmed the 'legs' back, and cut the joints again. This time, I laid out the joints with a simple circle, to let me know which side was to be tapered, and on what face. For this stool, I don't think it would be critical. For a bookcase, it's a different story. The finished parts:
Between milling the boards, cutting the pieces, routing the grooves, and cutting the joinery twice, the whole thing, start to finish, was still done before lunch, which isn't too shabby. Next step is to fit the joints for the shelves that will go into these cases:
On making the dovetail plane:


